Here are the basic instructions for inserting a photo into a Word Press blog post:
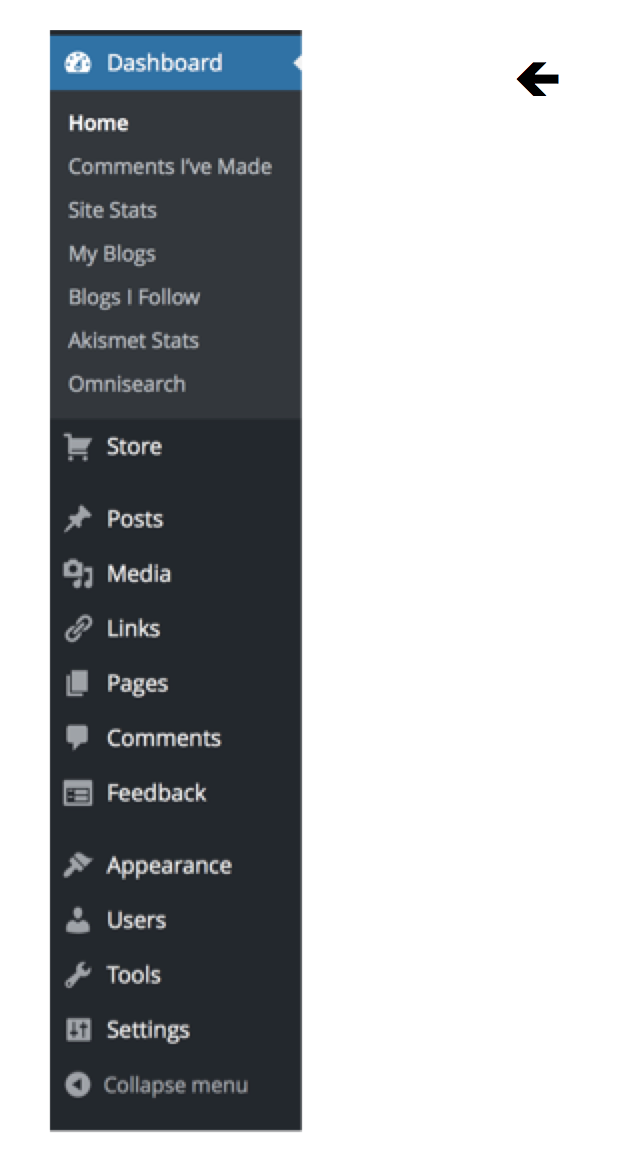
1. Sign into your account and Click WP ADMIN to go to the DASHBOARD. It looks like this:
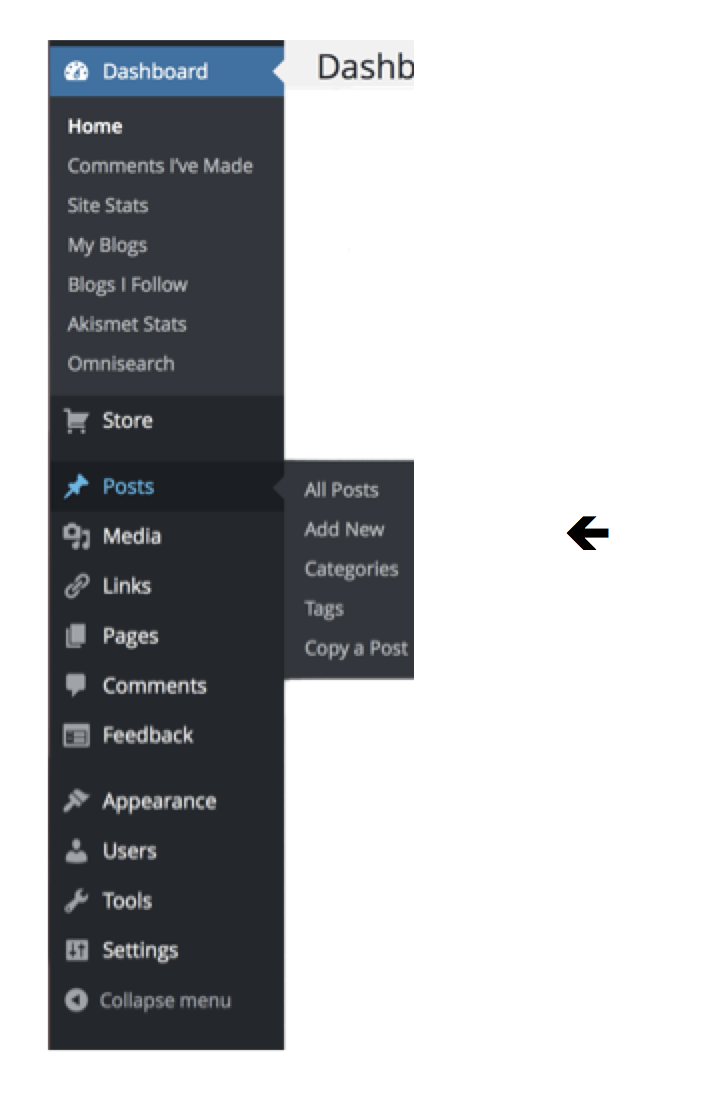
2. Click POSTS, then on the sub-menu, click ADD NEW.
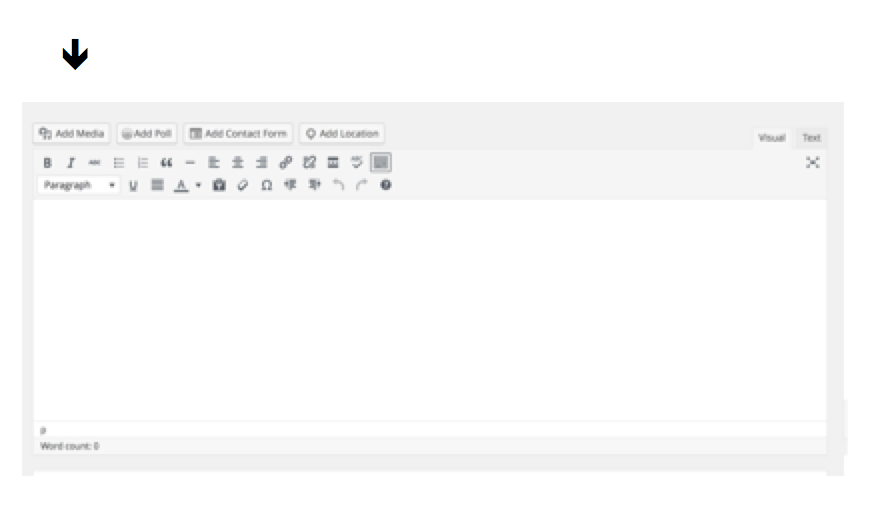
3. In the body of your post, CLICK THE CURSOR where you want to insert the photo.
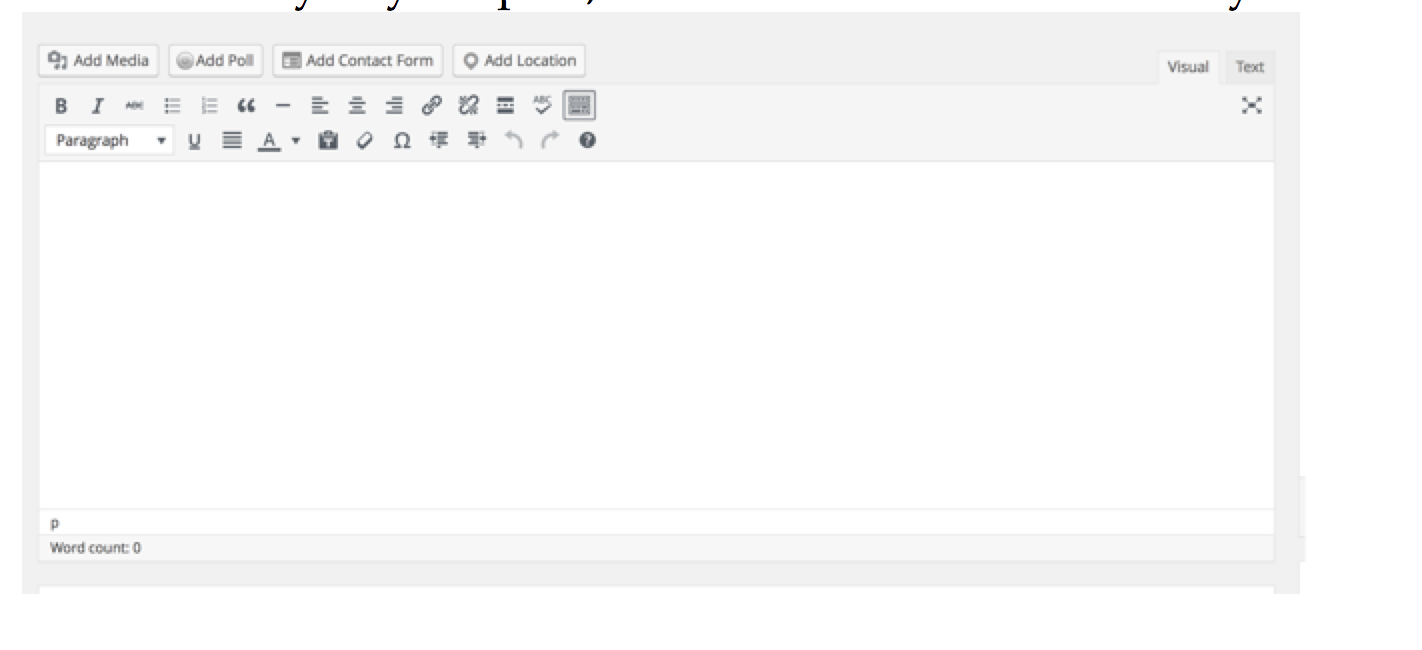
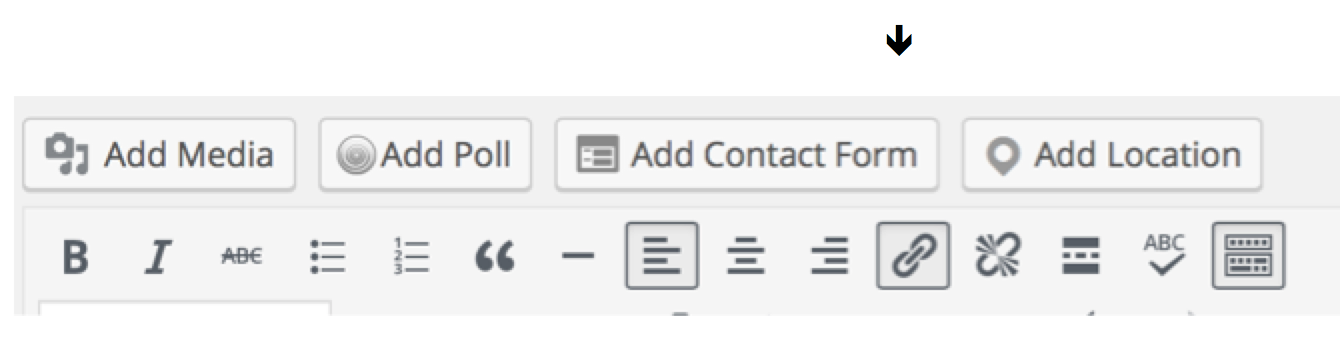
4. Click ADD MEDIA.
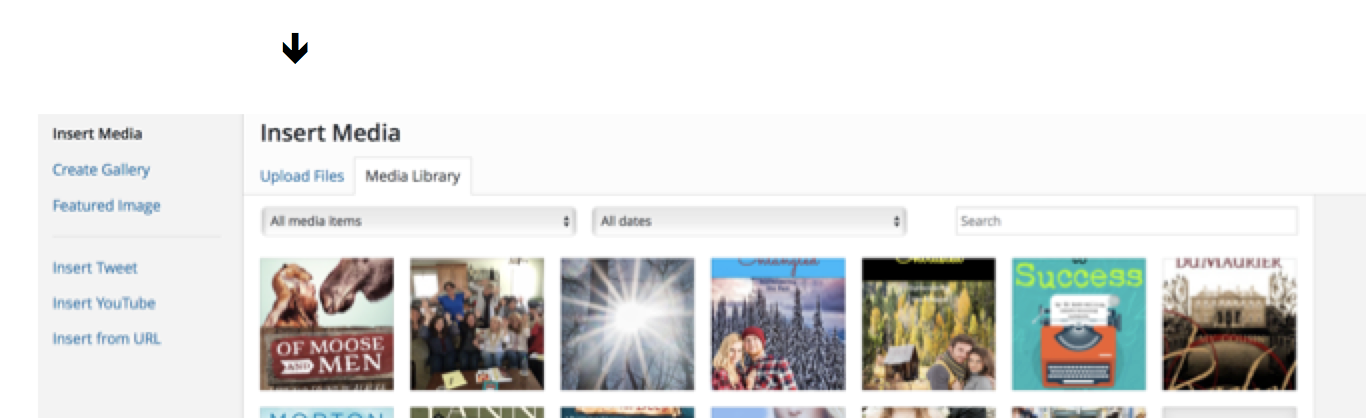
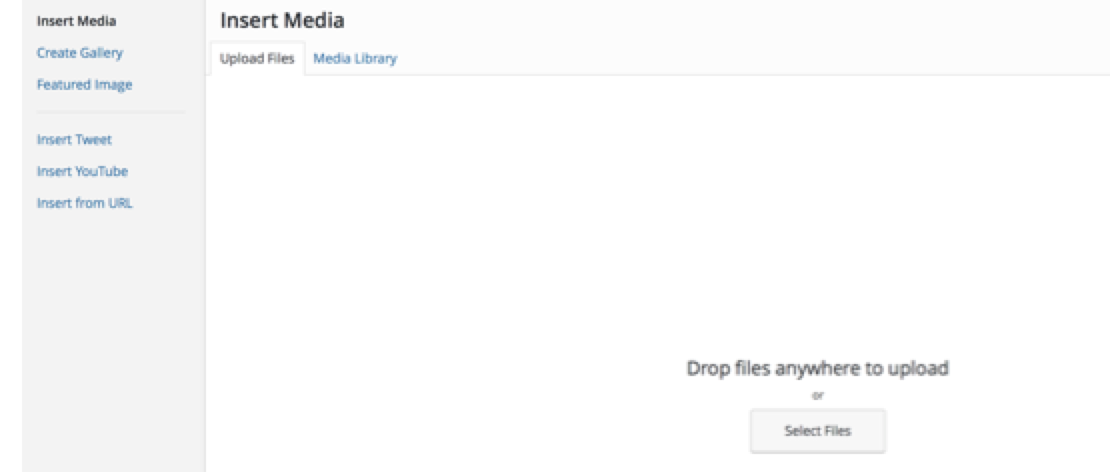
5. Click UPLOAD FILES.
6. Drop the photo from your computer’s desktop into the designated area.
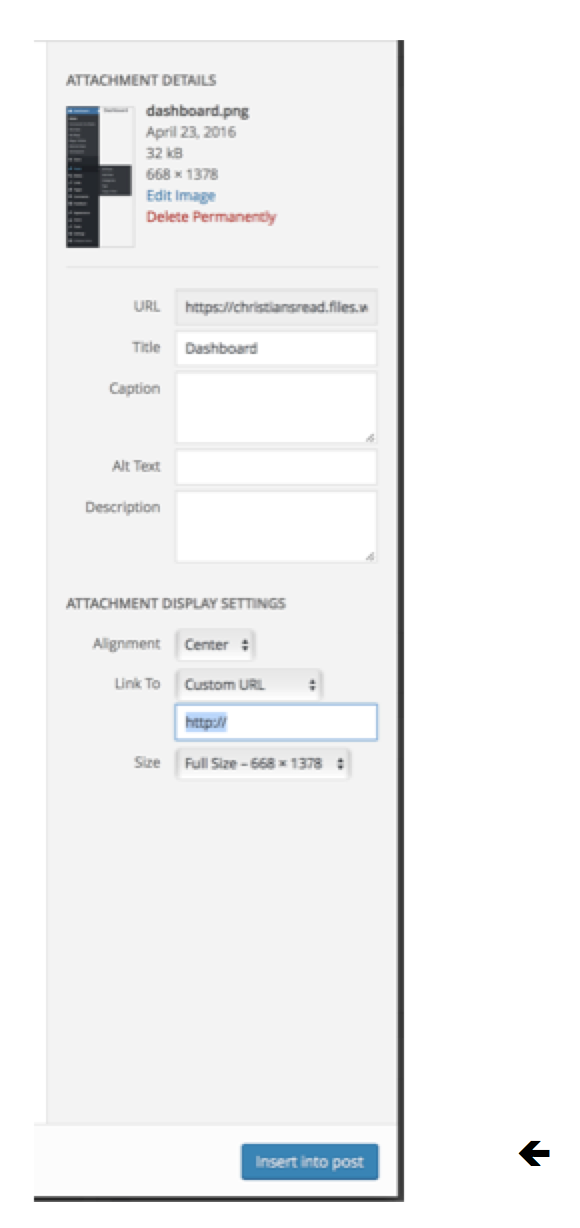
On the sidebar, you can enter information (ALT TEXT, TAGS). Then click INSERT INTO POST.
Your photo now appears in your post.
If the photo isn’t aligned where you want it, or it isn’t the right size or you want to make the photo a clickable link, read on. Otherwise, you’re done!
ALIGNMENT:
If the photo is not aligned the way you want it:
Say, it is Centered and you want it Left aligned.
CLICK THE PHOTO then click LEFT ALIGN on the tool bar.
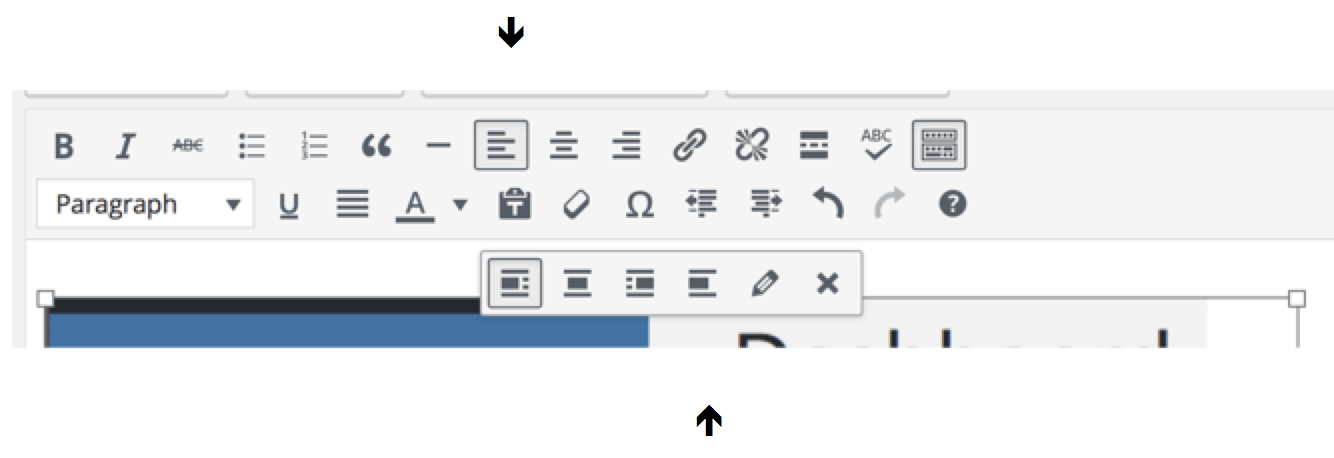
If you do NOT want text to wrap the photo, click the icon above that shows only the photo on the left. (It’s the fourth icon on the lowest set.)
RESIZING:
If you want to resize the photo:
CLICK PHOTO, then DRAG the corner of it to the size you want. (Use the lower right corner.)
If your version doesn’t allow you to drag, when you select the photo, two icons will appear. One is a photo icon. It’s on the left. Click it and choose a percentage. That will make the photo smaller by whatever percentage you choose.
CLICKABLE LINK:
If you want to make the photo a clickable link:
CLICK PHOTO to select it. Then go to the toolbar and CLICK LINK ICON.
When you click the link icon, a little window comes up:
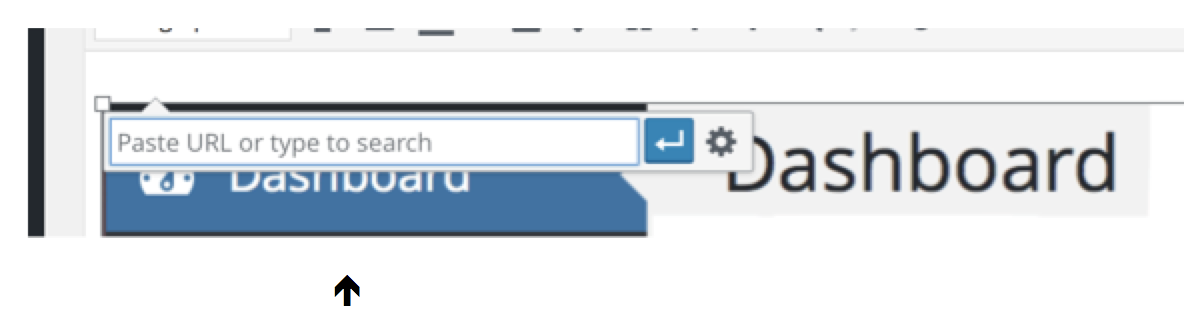
Type in your target URL (where you want someone to end up when they click the photo) and then hit return.
Now your photo is linked to that URL page.
And that’s how you insert a photo, place or align the photo where you want it, size it, and make it a clickable link in a Word Press Blog Post.
Note: I guest blogged on Elaine Stock’s blog, Everyone’s Story. It’s about trying hard and falling just short of a goal–and I hope both encouraging and inspiring. If you’d like to read it, you can find it at http://bit.ly/1SBQ7qe .
Hope this article is helpful.
Blessings,
Vicki